Over the years, I’ve tested a lot of 3D printing tools.
Some were great.
Some were gimmicks.
And a few… I really wish I had bought much sooner.
One thing I’ve learned the hard way is this: your tools matter just as much as your 3D printer. Without the right tools, you waste time, risk injury, and your prints never look as clean as they should.
In this post, I’m breaking down the tools that have earned a permanent place in my workshop after more than a decade of 3D printing. These are the tools that make the hobby safer, easier, and honestly more enjoyable.
I’ve grouped everything into three simple categories:
- Safety & Prep
- 3D Printing Essentials
- Assembly & Finishing
Let’s jump in.
Safety & Prep Tools (Don’t Skip These)
Cut-Resistant Gloves & Safety Glasses
Gloves and safety glasses feel optional… until they’re not.
Years ago, I was popping off supports when a sharp piece flew straight into my eye and scratched it. Another time, I finished removing supports and only afterward noticed my hands covered in tiny cuts.
Those moments changed how I approach safety.
Support material can be razor sharp. Cut-resistant gloves let you grip, snap, and remove supports confidently without worrying about slicing your hands. The key is finding a pair that still gives you good dexterity so you can handle small parts easily.
Safety glasses are just as important. Supports can pop off unpredictably, and protecting your eyes is non-negotiable. Whether it’s safety glasses, goggles, or side shields on prescription glasses, just protect your eyes.
You don’t need fancy gear. You just need protection.
Trust me. You’ll thank yourself later.


Dish Soap, Warm Water, and a Soft Cloth
If you’re fighting bed adhesion issues, this might be the most important “tool” you already own.
Before touching slicer settings, clean your build plate.
Warm water, regular dish soap, and a soft sponge or microfiber cloth can solve more first-layer problems than most people realize. Oils from your hands, filament residue, and dust all ruin adhesion.
Once the plate is clean, handle it by the edges only. Fingerprints matter more than people think.
This isn’t complicated or expensive. It’s just consistency. A clean plate leads to better prints, period.

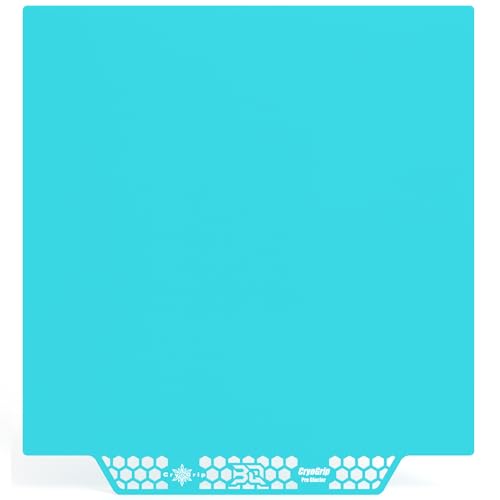
A Reliable Build Plate
One of the easiest upgrades you can make for better adhesion is swapping your build plate.
A good plate removes the need for glue, tricks, and endless tweaking. When the plate is clean, prints just stick. Simple as that.
Most of my printers run the same style of build plate unless I’m doing a special project that needs a specific texture or surface. It’s one of those upgrades that immediately makes printing feel easier and more forgiving.


Dry Filament Storage
Filament condition matters more than most beginners realize.
Moist filament causes stringing, weak layers, popping noises, and inconsistent prints. Whether you need a filament dryer depends entirely on your environment.
If you live in a dry climate and use systems with built-in drying, you may be fine without a standalone dryer. In humid environments, a dryer can make a massive difference.
Storage matters too. Vacuum-sealed bags with desiccant help keep filament dry when it’s not in use.
There’s no single solution that fits everyone, but understanding your environment is key.


3D Printing Essentials You’ll Reach for Every Day
A Good Scraper
A good scraper makes print removal easy and controlled.
It helps pop prints off the bed cleanly and removes stubborn brims that refuse to let go. This is one of those tools you’ll reach for after almost every print, so quality matters.
You don’t need a specific brand. You just need a scraper that’s sharp, comfortable, and reliable.

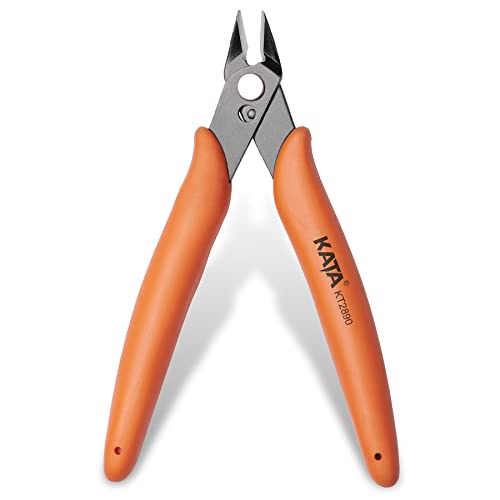
Quality Flush Cutters
Let’s be honest. The snips that come with most printers are not great.
A solid pair of flush cutters gives you cleaner cuts, better control, and makes support removal far easier. This is one of the most-used tools in 3D printing, and upgrading here pays off fast.
A good pair will last for years and save you frustration on every project.


A Deburring Tool
This is a tool I wish I had bought much earlier.
Before using one, I scraped brims off prints with a hobby knife. It worked, but it was slow and risky. A deburring tool removes brims in a single smooth motion and leaves clean edges behind.
If you use brims regularly, this tool will save you time and improve your results immediately.


A Small Pliers Set
Some supports just won’t come off with your fingers alone.
Having a variety of small pliers gives you control in tight spaces, helps with stubborn supports, and makes assembly easier. Needle nose, curved pliers, and flat grips all have their place.
This is one of those tools you don’t realize you need until you have it. Then you use it constantly.

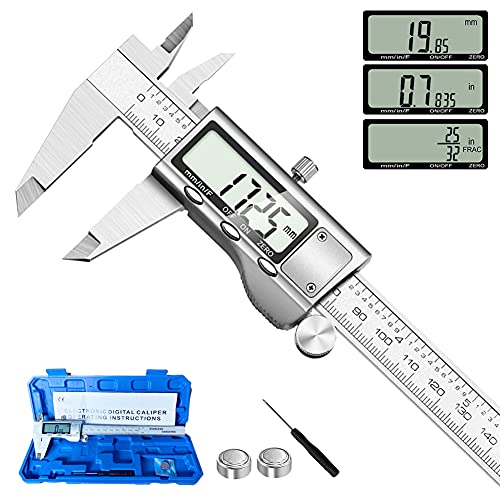
Digital Calipers
If you ever plan to design, modify, or customize parts, digital calipers are essential.
They turn guessing into knowing. Whether you go with a budget set or invest in higher-end calipers depends on how often you’ll use them.
Occasional measurements? Budget calipers are fine.
Frequent precision work? Invest in quality.
Either way, they save time and eliminate trial and error.


Assembly & Finishing Tools That Level Up Your Prints
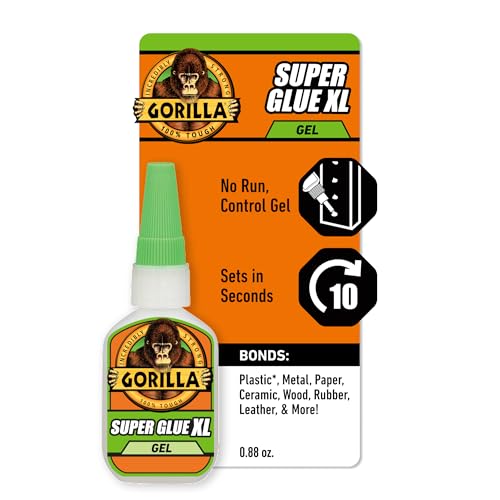
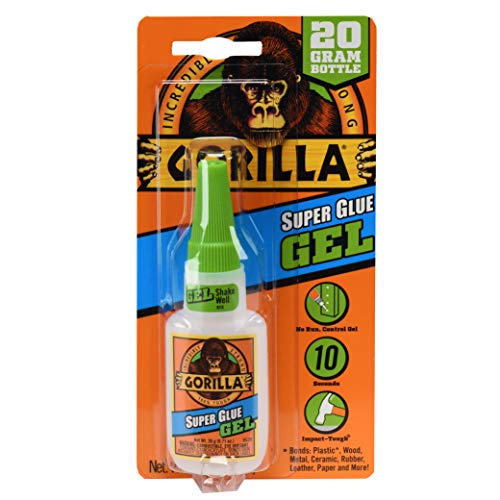
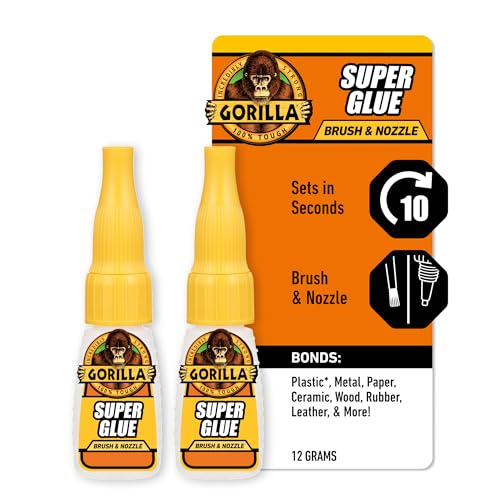
Glue That Actually Works
For most projects, super glue is all you need. Gel versions are especially useful because they don’t run.
When you need an even stronger bond, there are adhesives designed specifically to fuse printed parts together. These don’t just hold parts. They chemically weld them.
Always use glue in a well-ventilated area and wear a respirator. Safety matters here.


A Soldering Iron for Welding Parts
A soldering iron is incredibly useful for fusing parts together, especially on large prints.
It strengthens seams, reinforces internal joints, and can even smooth small problem areas. This tool takes practice. Too much heat can ruin a print quickly, so start on scrap pieces and learn how the plastic reacts.
Always use a respirator. Plastic fumes are not something you want to breathe.


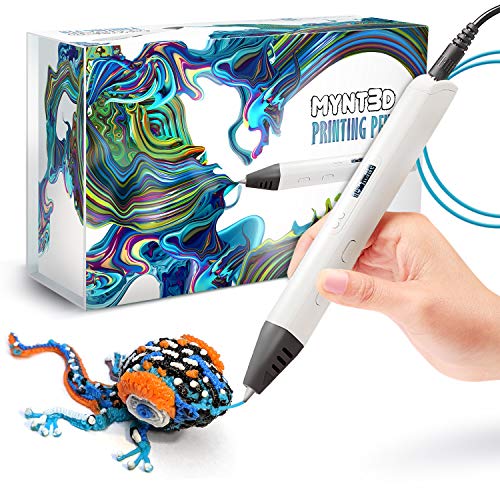
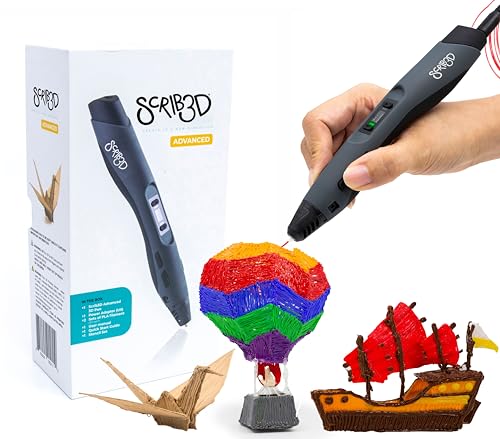
A 3D Pen
A 3D pen is like a small plastic welder.
You can fill gaps, repair breaks, rebuild edges, and reinforce weak spots. The best part is using the same filament as the print so repairs blend in naturally.
This is one of those tools you don’t think you need… until you own one. Then you use it far more than expected.


A Heat Gun (The Final Cleanup Tool)
This is the last tool on the list and one I keep next to my printers at all times.
A heat gun is perfect for removing fine stringing and wisps in seconds. Even the best printers produce a little “angel hair.” A quick pass with a heat gun cleans it up instantly.
You can also use it to make small fit adjustments, but be careful. Too much heat can warp a part beyond saving.


Final Thoughts
Every tool listed here earned its place through real use, not hype. You don’t need to buy everything at once, but each of these solves a real problem and makes 3D printing safer, easier, and more enjoyable.
If you want to see the full list of the exact tools I use, I’ve put them all together in one place.
Now I want to hear from you.
What tools do you swear by that I didn’t mention?
Share them with the community so we can all keep improving our setups.
As always, I wish you a great day, and I’ll see you in the next one.